
Blocks
Cart Widget
gamiphy.loyalty-station app provides a cart widget block loyalty-station-cart-widget block.
Props
| Name | Description | Type | Default |
|---|---|---|---|
isMiniCart | True when rendered inside the minicart | Boolean | false |
Usage
Cart (Checkout Page)
Inject Core Loyalty script
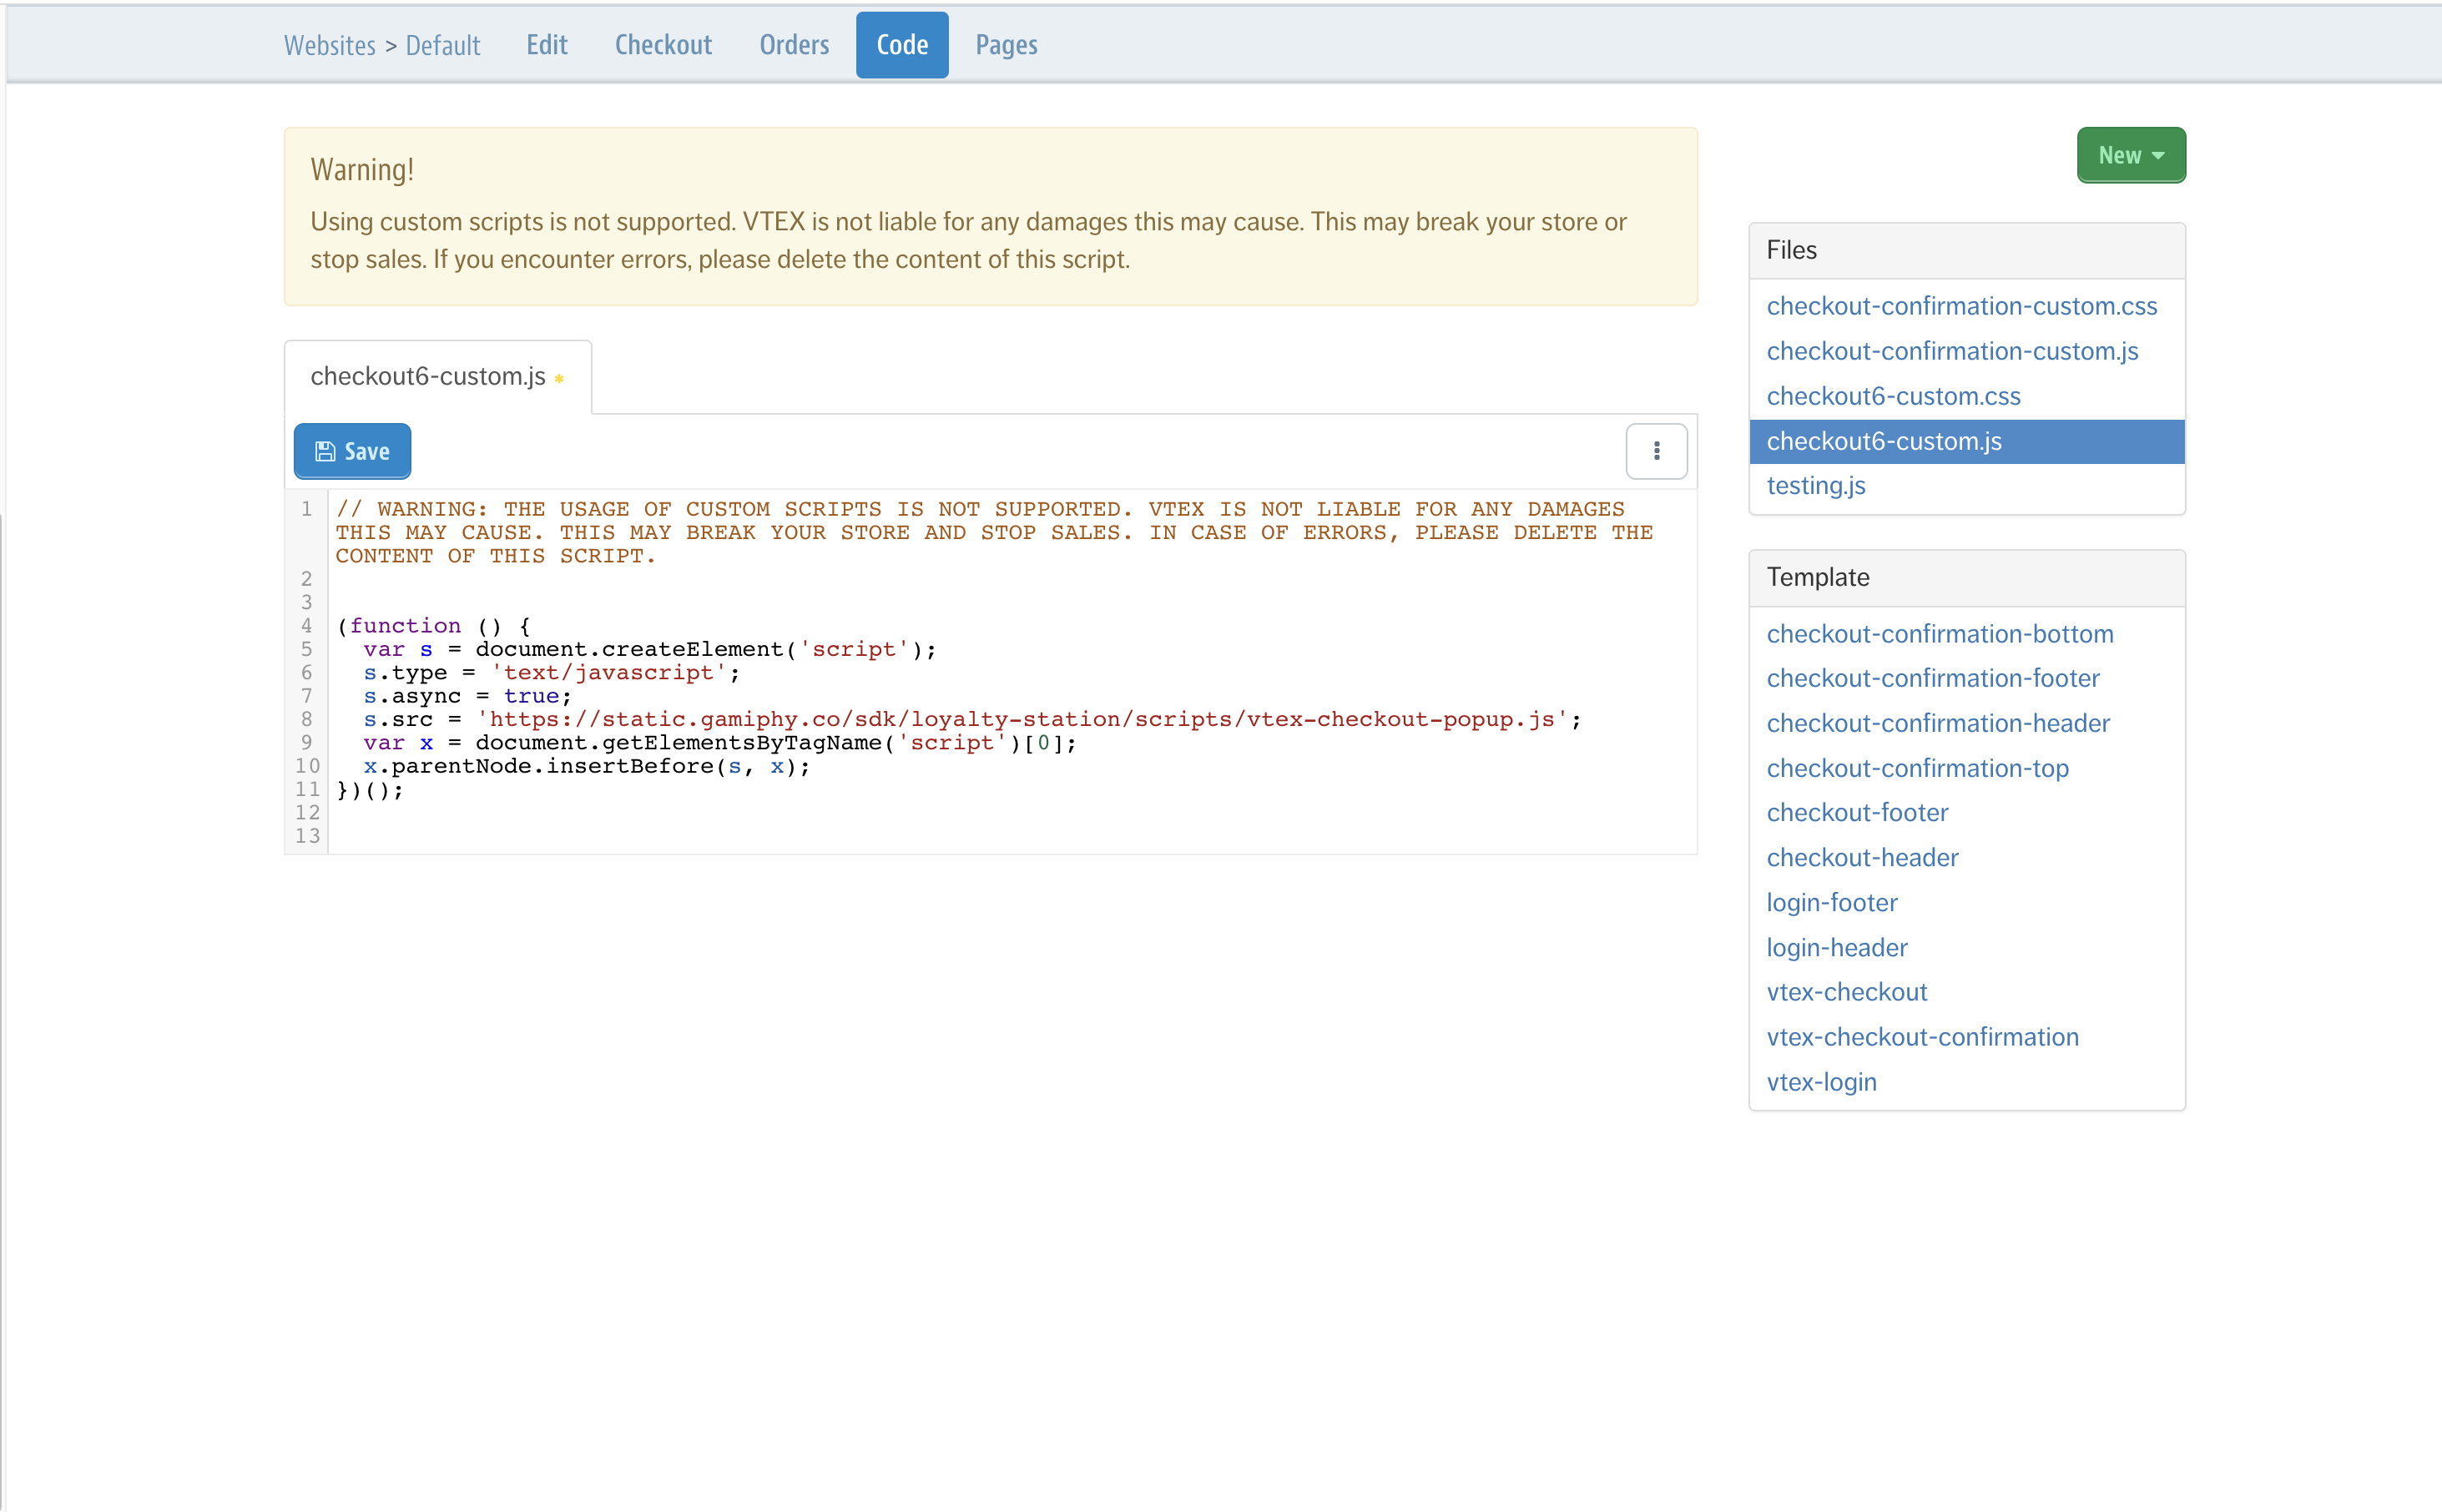
The core loyalty script won't be injected automatically into the checkout page. However, you need to add it manually by pasting the following code to the checkout6-custom.js file.
(function () {
  var s = document.createElement('script');
  s.type = 'text/javascript';
  s.async = true;
  s.src = 'https://static.gamiphy.co/sdk/loyalty-station/scripts/vtex-checkout-popup.js';
  var x = document.getElementsByTagName('script')[0];
  x.parentNode.insertBefore(s, x);
})();
checkout6-custom.js is accessible by navigating to Admin Panel > Settings > Checkout > Store Settings > Code then select checkout6-custom.js from the right side menu.
Embed cart widget
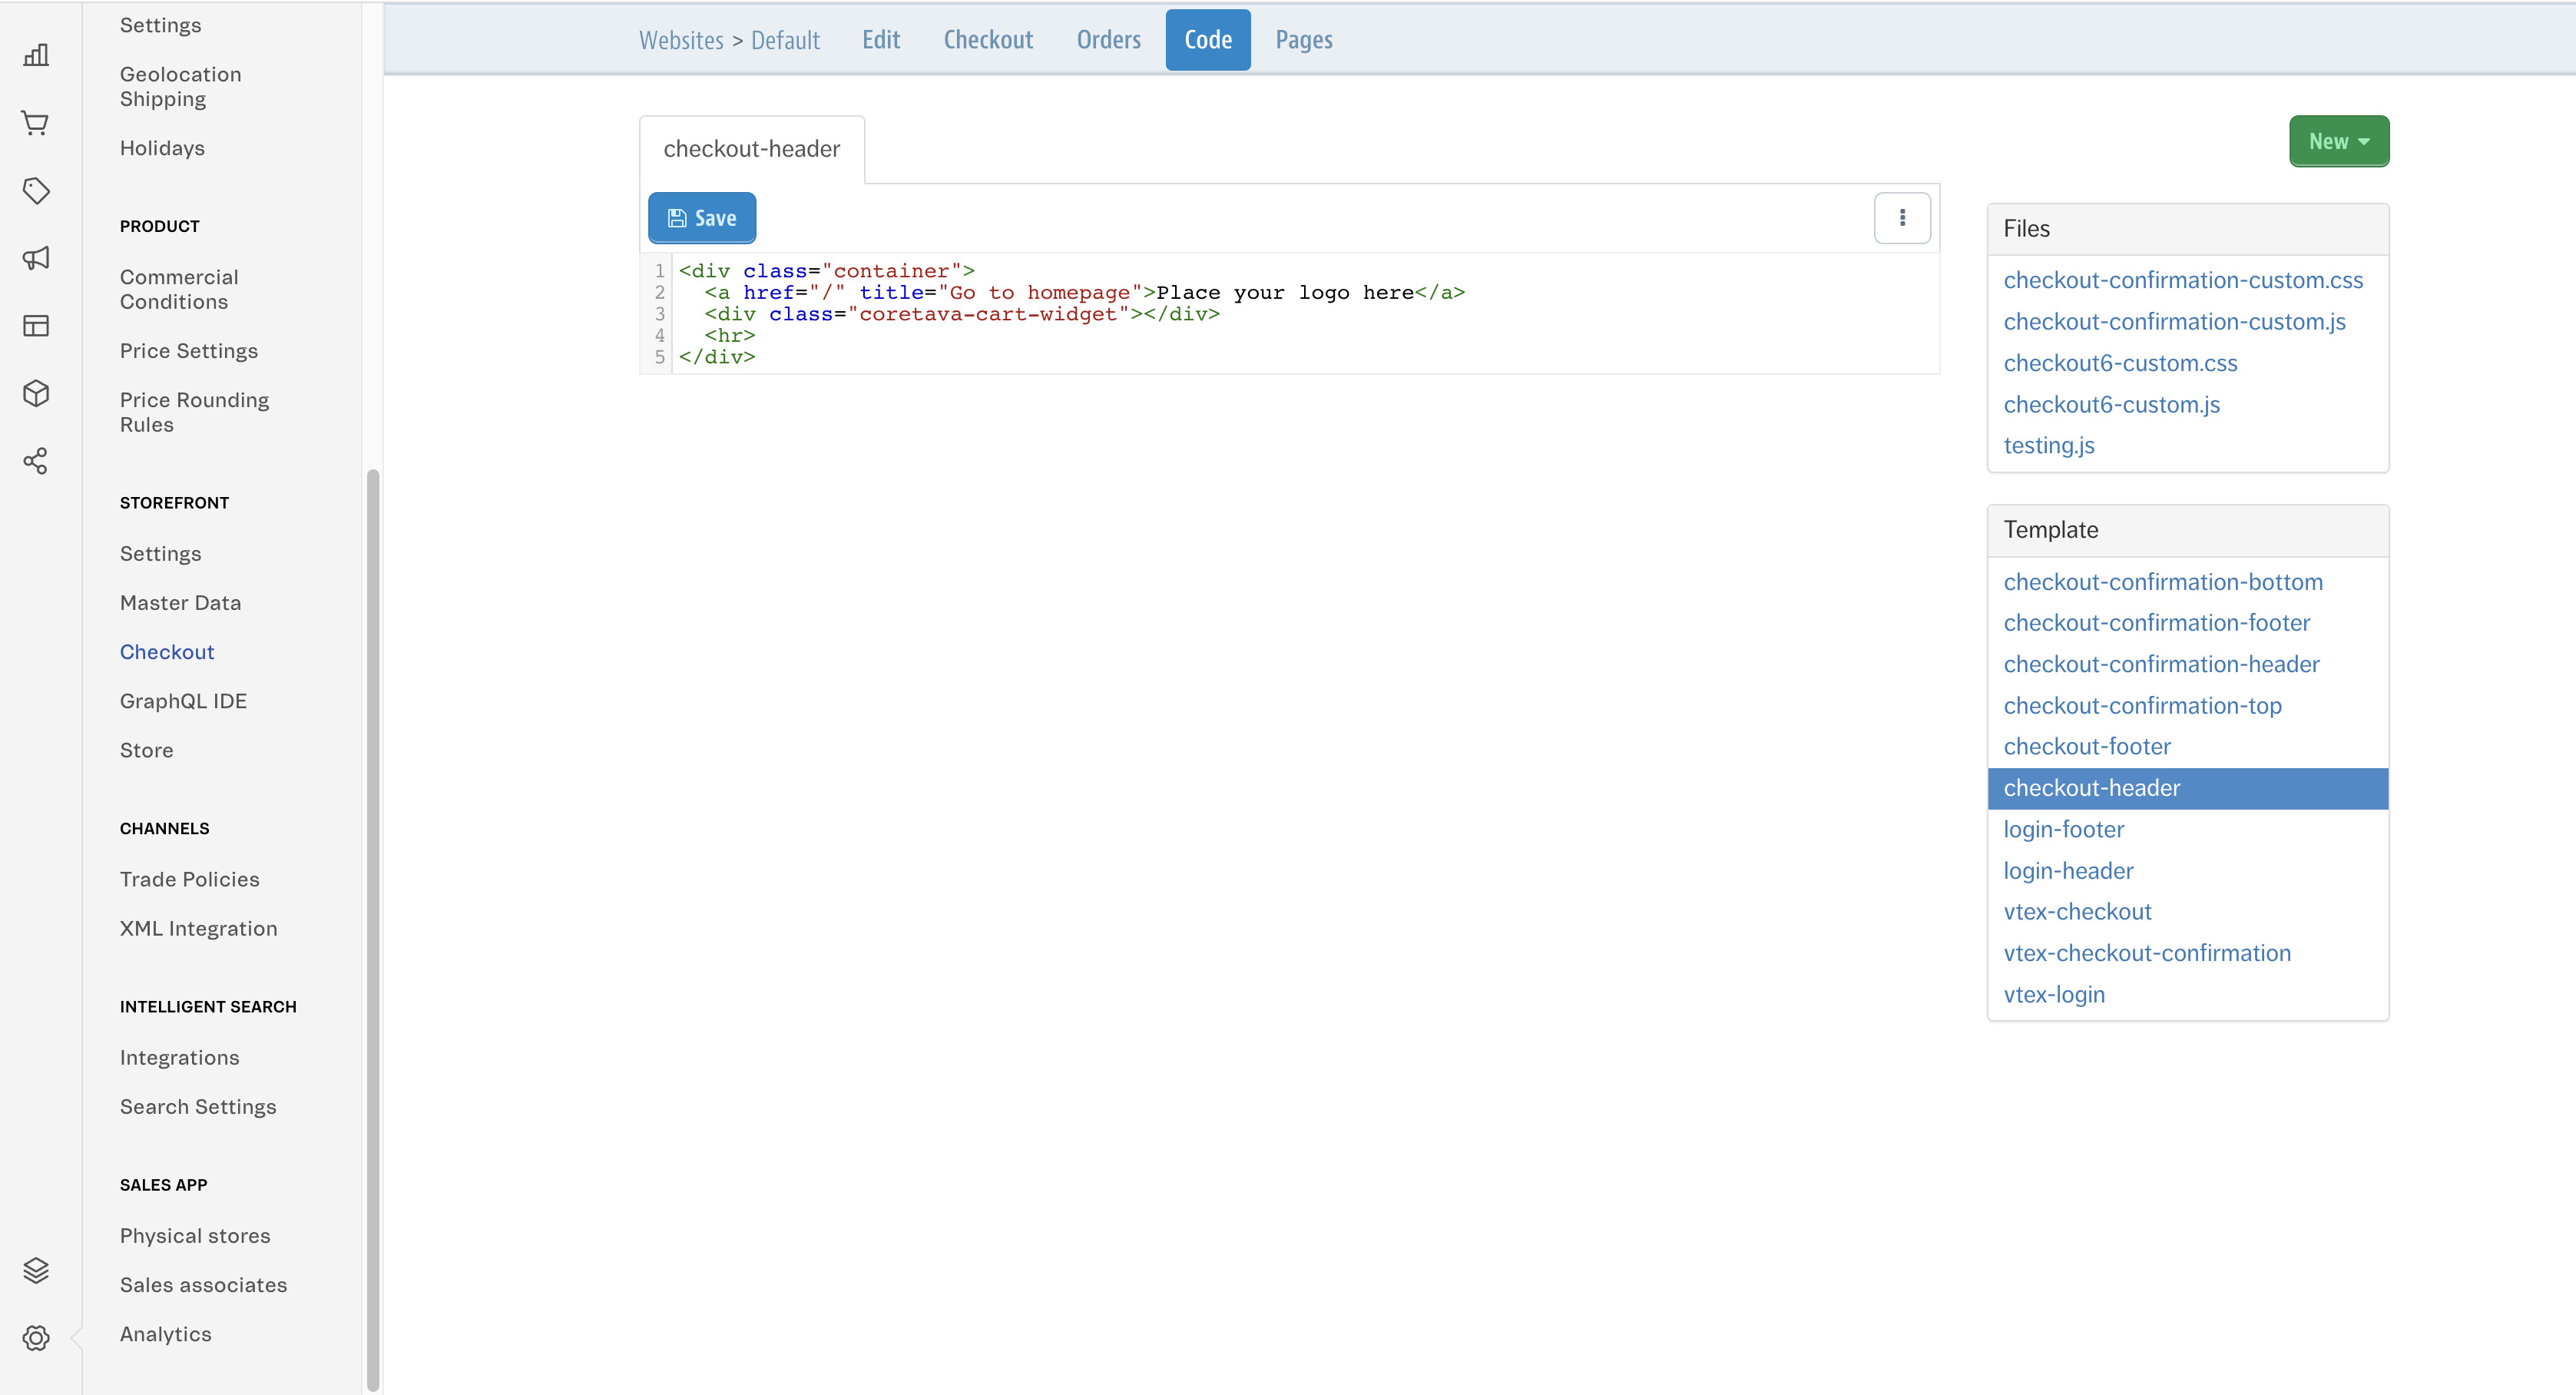
After the Core Loyalty script is added to the checkout page, you are ready to start using the cart widget inside the checkout page. You can embed the cart widget by pasting the following code into the checkout-header file
<div class="coretava-cart-widget" data-url-selector="/cart"></div>
Mini Cart
Override minicart.jsonc file, by adding loyalty-station-cart-widget to the mini cart footer.
  "flex-layout.col#minicart-footer": {
    "children": [
      "loyalty-station-cart-widget#minicart",
      "minicart-summary",
      "minicart-checkout-button"
    ]
  },
  "loyalty-station-cart-widget#minicart": {
    "props": {
      "isMiniCart": true
    }
  }
Loyalty Page
gamiphy.loyalty-station app provides a cart widget block loyalty-station-loyalty-page block.
Usage
The following examples show how to add a loyalty page to the /loyalty route. Hence you can change to use your preferred route path.
Define loyalty block
You need to create a loyalty block, in order to use it later to define a new loyalty route. This can be done by creating a new file (loyalty.jsonc) inside store/blocks folder.
{
  "store.custom#loyalty": {
    "children": [
      "loyalty-station-loyalty-page"
    ]
  }
}
Create a loyalty route
After you define the loyalty block you can create the new route, by appending the following code to thestore/routes.json file.
"store.custom#loyalty": {
  "path": "/loyalty"
},
Now you can access the page by going to <your website domain>/loyalty.